Winterizing Your Outdoor Kitchen the Right Way

As winter approaches, it's crucial to shield our outdoor kitchens from harsh weather. Freezing temperatures and moisture can harm appliances, plumbing, and surfaces. This damage can lead to expensive fixes.
By winterizing our outdoor spaces correctly, we keep them working well and looking great. This involves several important steps. These steps help our outdoor kitchens stay in top shape all year.
Key Takeaways
- Protect appliances from freezing temperatures
- Maintain plumbing to prevent damage from moisture
- Preserve surfaces to maintain aesthetic appeal
- Ensure functionality for the next cooking season
- Prevent costly repairs through proper winterization
Why Proper Winterization Matters
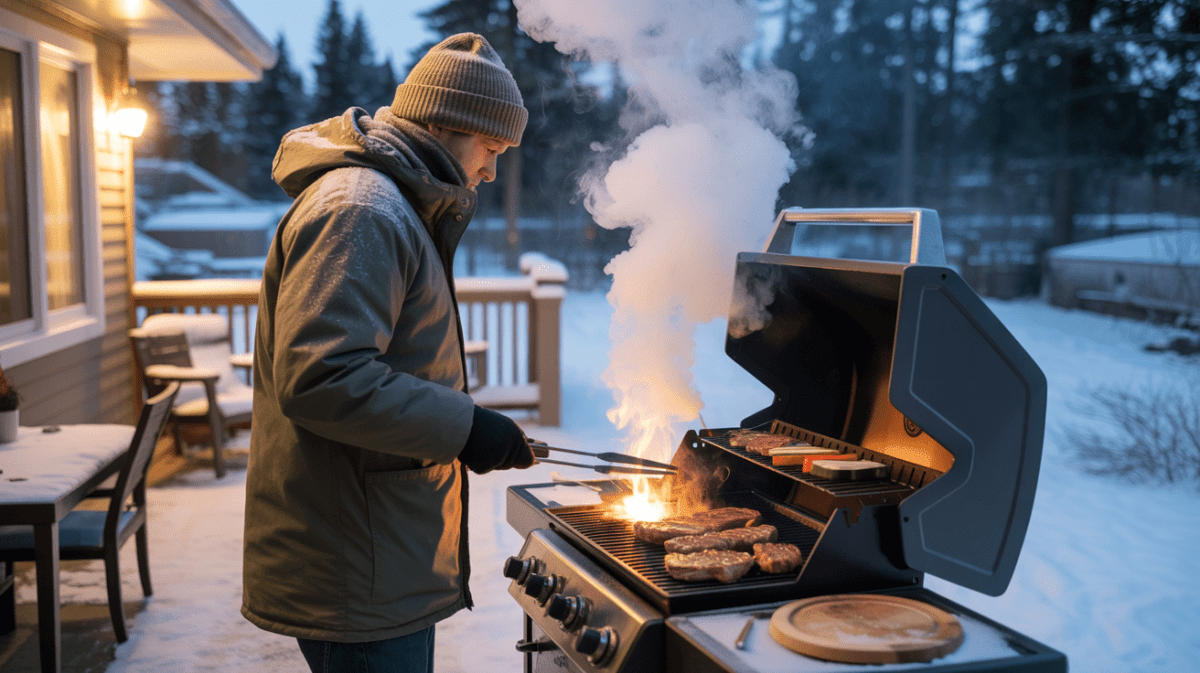
Winter is coming, and it's key to know why you should winterize your outdoor kitchen. Doing so is vital for keeping your kitchen in top shape.
Protecting Your Investment
Winterizing your outdoor kitchen protects your investment. It shields appliances, plumbing, and surfaces from cold and moisture. This way, your kitchen stays in great condition.
Preventing Costly Damage
Winterizing helps prevent costly damage. It keeps critters out and protects against harsh weather. By following outdoor kitchen maintenance tips, you can avoid expensive repairs later.
Winterizing Your Outdoor Kitchen the Right Way: Preparation Steps

To winterize our outdoor kitchen, we must prepare thoroughly. This means taking several important steps to avoid missing anything crucial.
Creating a Comprehensive Checklist
We start by making a detailed winterize outdoor kitchen checklist. This list should cover all winterization tasks, like cleaning, protecting appliances, and plumbing. A detailed checklist helps us make sure every part of our outdoor kitchen is ready for winter.
Gathering Necessary Supplies and Tools
Then, we collect all the supplies and tools we need for winterization. This includes cleaning products, appliance covers, and materials for plumbing protection. Having these items ready makes the process easier and faster.
Determining the Ideal Timing
Lastly, we figure out the best time to winterize our outdoor kitchen. The ideal time is usually before the first frost to avoid damage from cold temperatures. By choosing the right time, we keep our outdoor kitchen in great shape until spring.
By following these steps and using best practices for winterizing outdoor kitchen, we can safeguard our investment. This way, we can enjoy our outdoor kitchen for many years.
Step-by-Step Winterization Process

To keep your outdoor kitchen safe from winter damage, you need to clean, maintain, and protect it. We'll show you how to winterize your outdoor kitchen effectively.
Deep Cleaning All Surfaces and Components
Start by deep cleaning your outdoor kitchen. Clean all surfaces and parts to remove dirt and food residue. This prevents damage over time.
Degreasing and Sanitizing Cooking Areas
Cleaning cooking areas is key to stop bacteria and grime buildup. Use a degreaser on grill surfaces and cooking grates. Then, sanitize to keep surfaces clean and safe.
Cleaning Countertops and Storage Areas
Don't forget to clean countertops and storage areas. Take out all items and clean surfaces with mild detergent. Use a cleaner made for your countertop material.
Protecting Appliances and Equipment
Protecting your appliances and equipment is crucial. This includes winterizing your grill, preparing refrigerators and ice makers, and protecting smaller appliances.
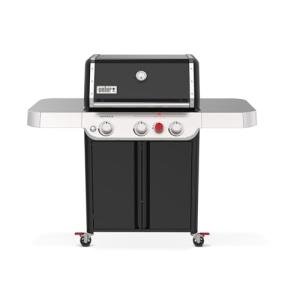
Winterizing Your Grill
To winterize your grill, clean it well and apply a rust-inhibiting coating. Disconnect and store propane tanks or cover them to avoid snow and ice.
Preparing Refrigerators and Ice Makers
For refrigerators and ice makers, clean and dry them well. Leave doors ajar to avoid moisture and mold. Use a breathable cover to keep them dust-free.
Safeguarding Smaller Appliances
Smaller appliances like coffee makers and blenders need cleaning and a dry storage place. Cover them to keep them dust- and moisture-free.
Addressing Plumbing and Utilities
Winterizing plumbing and utilities is also important. This means shutting off and draining water lines, protecting gas lines, and looking at electrical components.
Shutting Off and Draining Water Lines
Turn off the water supply and drain lines to avoid freezing and bursting. Use compressed air to remove any water left in the lines.
Protecting Gas Lines
Make sure gas lines are turned off and protected from the weather. Check for leaks before winter starts.
Electrical Considerations
Keep electrical components clean and dry. Cover outdoor outlets and switches to protect them from snow and ice.
Covering and Securing the Area
Lastly, cover and secure your outdoor kitchen area to protect it from harsh winter weather. Use covers for appliances and furniture. Secure loose items that could be blown away by strong winds.
By following these steps, you can winterize your outdoor kitchen properly. It will be ready for the next outdoor cooking season.
Conclusion
Winterizing your outdoor kitchen is key to protecting it from harsh winter weather. By following the best practices, you can keep it working well and looking great all year.
Proper winterization prevents expensive repairs and keeps your outdoor kitchen looking good. We've shown you how to protect your appliances, plumbing, and structure.
Winterizing your outdoor kitchen the right way means you can enjoy the new entertaining season without a hitch. It also helps you avoid problems that come from not taking care of it during winter.
FAQ
Q: What is the importance of winterizing my outdoor kitchen?
A: Winterizing your outdoor kitchen keeps it safe from winter damage. This includes freezing temperatures, moisture, and critters. It also helps avoid expensive repairs.
Q: How do I prepare for winterizing my outdoor kitchen?
A: To get ready, we make a detailed checklist. We also gather the right tools and pick the best time for winterizing. This makes the process smooth and effective.
Q: What are the steps involved in winterizing my outdoor kitchen?
A: The steps include deep cleaning and protecting appliances. We also address plumbing and utilities. Lastly, we cover and secure the area to shield it from winter harshness.
Q: How do I protect my outdoor kitchen appliances and equipment during winter?
A: We keep appliances and equipment clean and covered. We use waterproof covers and store them in a dry, safe spot. This prevents damage.
Q: What are some best practices for winterizing my outdoor kitchen's plumbing and utilities?
A: To winterize plumbing and utilities, we drain hoses and shut off the main water supply. We also insulate exposed pipes to stop freezing and bursting.
Q: How can I maintain my outdoor kitchen's functionality and aesthetic appeal throughout the year?
A: By following our winterization guide, your outdoor kitchen stays functional and looks great. This prevents costly repairs.
Q: What is the best time to winterize my outdoor kitchen?
A: The best time to winterize is before the first frost, usually in late fall. This protects it from winter's harsh conditions.
DISCLAIMER
This document is provided for general information purposes only and should not be relied upon as providing legal advice, technical, or specific operational guidance to the reader, whether as to the practices described in the document or the applicable legal requirements and regulations. outdoorgrillguide.com expressly disclaims any responsibility for liability arising from or related to the use or misuse of any information in this document.