“Simple Cleaning Tips to Keep Your Grill Cooking Like New”
Simple Cleaning Tips to Keep Your Grill Cooking Like New
Nothing kills the joy of grilling faster than pulling up the lid and finding last week’s burger bits stuck to the grates. A dirty grill doesn’t just look bad — it affects the way your food tastes, makes cooking less predictable, and can even be a fire hazard if too much grease has built up.
The truth is, cleaning your grill doesn’t have to be a dreaded chore. With the right routine, a few simple tools, and a little know-how, you can keep your grill in great shape without spending hours scrubbing. In fact, a clean grill is the secret behind those beautiful grill marks, smoky flavors, and evenly cooked meals we all love.
Let’s break down exactly how to clean your grill properly — step by step — so it stays looking good and cooking even better.

Why Cleaning Your Grill Is Worth It
If you’re tempted to skip cleaning (we’ve all been there), think about what happens when grease, food scraps, and ash pile up inside your grill:
-
Your food suffers. That buildup can stick to whatever you’re cooking, leaving behind a bitter, burnt taste.
-
Cooking becomes uneven. Blocked burners or ash-covered coals mean hot spots and cold zones you can’t control.
-
Flare-ups are more common. Excess grease is basically fuel for surprise fires.
-
Your grill won’t last as long. Ash, moisture, and grease speed up rust and corrosion.
In short, a clean grill isn’t just about looks — it’s about flavor, safety, and protecting the investment you made in your grill.
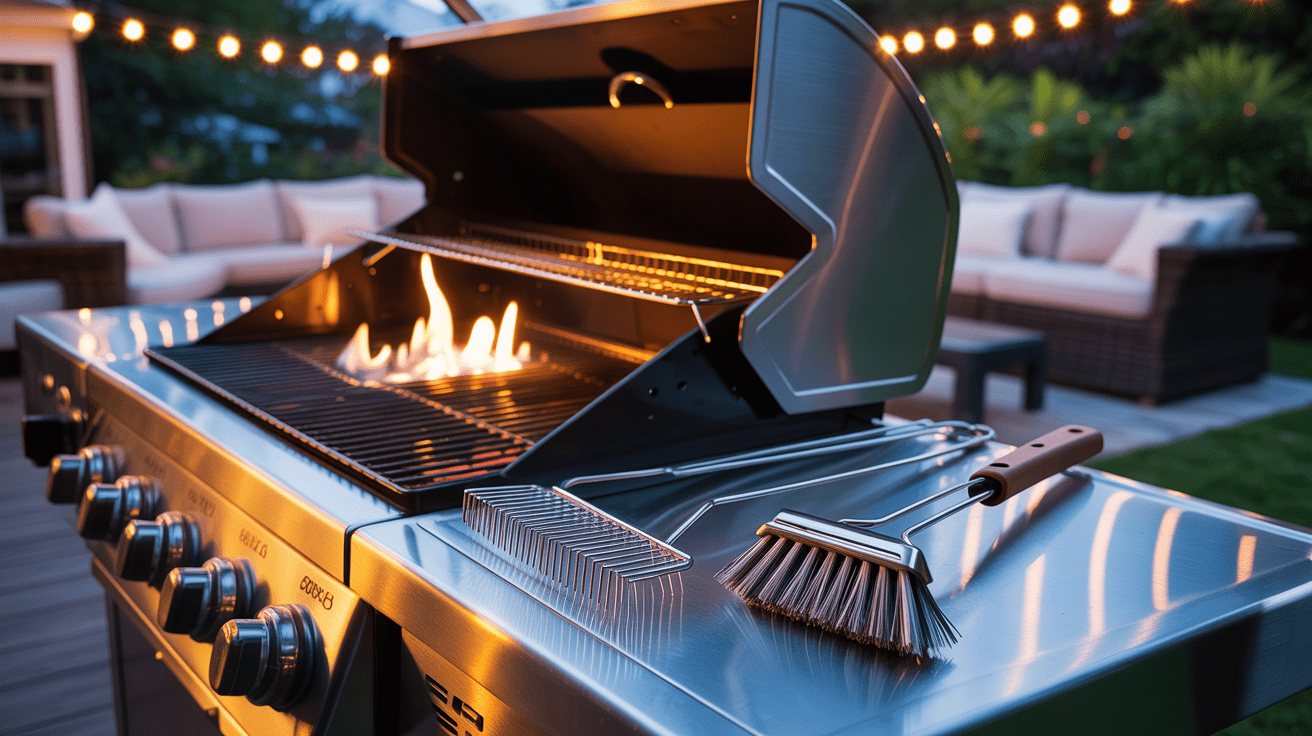
Gather Your Grill Cleaning Tools
You don’t need fancy equipment to clean your grill, but having the right basics on hand makes life a whole lot easier. Here’s what to keep nearby:
-
A grill brush or scraper (look for sturdy bristles or a bristle-free coil brush)
-
A bucket of warm, soapy water
-
A sponge or rag for wiping down surfaces
-
Aluminum foil (works for scrubbing or lining drip trays)
-
Heat-resistant gloves (because you’ll be working on warm surfaces)
-
Vinegar spray or stainless steel cleaner (for the outside of your grill)
-
A putty knife or scraper (for stubborn carbon buildup inside)
Tip: Replace your grill brush every season or two. Worn-out bristles don’t clean well, and if they snap off, you definitely don’t want them ending up in your food.
Step 1: Burn Off the Gunk
The easiest way to get rid of stuck-on food is to let the heat do the work.
-
Gas grills: Fire up all the burners.
-
Charcoal grills: Light a small batch of coals.
-
Pellet grills: Set the temp high, around 450–500°F.
Close the lid and let the grill run for 10–15 minutes. This burns away leftover food and grease, turning it into ash. Turn the heat off, wait a few minutes, and you’ll have an easier surface to scrub.
Step 2: Scrub Those Grates
The grates are where all the action happens — and they’re usually the dirtiest part. While they’re still warm (not scorching hot), grab your brush and scrape away the residue.
For really stubborn grime:
-
Remove the grates and soak them in warm, soapy water for 15–20 minutes.
-
Use a sponge or scouring pad to finish the job.
-
Rinse and dry thoroughly before returning them.
A pro trick is to oil the grates once they’re clean lightly. This keeps food from sticking and helps prevent rust. Just rub a bit of vegetable oil on with a paper towel before your next cook.
Step 3: Don’t Forget the Burners (Gas Grills)
If you use a gas grill, your burners need attention too. Food drippings and grease often clog the burner holes, which leads to uneven flames and cold spots.
Here’s what to do:
-
Remove the grates and any metal flavorizer bars.
-
Wipe down the burners with a damp cloth.
-
Check for clogged holes and gently clear them with a toothpick or paperclip.
-
Make sure everything is secure and there are no leaks.
This small step can make your gas grill cook like new again.
Step 4: Clear Out the Ash or Drip Pans
-
Charcoal users: Ash holds moisture, which can rust out the bottom of your grill if you let it sit. Always empty the ash once it’s cooled completely.
-
Gas and pellet users: Grease pans and drip trays need to be emptied and washed. If you use foil liners, replace them.
Keeping these areas clean prevents messy grease fires and extends the life of your grill.
Step 5: Tackle the Inside Walls and Lid
The inside of your grill eventually builds up a thick, black layer of carbonized grease. Some of this is normal (and even adds flavor), but too much can start flaking off onto your food.
Use a putty knife or grill scraper to gently chip away at the buildup. Wipe everything down with a damp rag and a bit of soapy water if needed. No need to make it spotless — just aim to remove the heavy stuff.
Step 6: Give the Outside Some Love
The outside of your grill takes a beating from sun, rain, and greasy fingerprints. To keep it looking sharp:
-
Wipe down with warm, soapy water and a soft cloth.
-
For stainless steel, always wipe with the grain.
-
Use a stainless steel cleaner or a vinegar-water spray for extra shine.
This not only makes your grill look good but also protects the finish.
Step 7: Put It All Back Together
Once everything is clean and dry, reassemble your grill. Before covering it, give the grates a light oiling to prevent rust. Then, slip on a weather-resistant cover to keep it protected from the elements.
When to Do a Deep Clean
If you grill every weekend (or more), plan on doing a deep clean every 2–3 months. That means:
-
Fully removing grates, burners, and drip trays.
-
Washing every removable piece in soapy water.
-
Scraping the interior walls and bottom.
-
Checking for rust, cracks, or worn-out parts.
-
Vacuuming out ash or loose debris (a shop vac works great).
A deep clean keeps your grill working like it did the day you bought it.
Tips to Make Cleaning Easier
-
Brush after every cook. Two minutes now saves you 20 later.
-
Oil your grates regularly. Prevents food from sticking.
-
Line drip pans with foil. Swap it out and skip the scrubbing.
-
Keep your grill covered. Rain, snow, and dirt accelerate wear.
-
Schedule your deep cleans. Tie it to holidays like Memorial Day and Labor Day so you don’t forget.
Mistakes to Avoid
-
Using harsh chemicals inside. They can damage the grill and leave harmful residue.
-
Ignoring drip pans. Grease fires start here.
-
Leaving ash behind. Ash plus moisture equals rust.
-
Skipping burner checks. Blocked burners are a fast track to uneven heat.
The Bottom Line
Cleaning your grill isn’t the most glamorous part of outdoor cooking, but it’s the one that guarantees great results every time you fire it up. A little effort after each use, combined with a seasonal deep clean, will keep your grill safe, reliable, and ready for backyard cookouts whenever you are.
The next time you’re tempted to “leave it for tomorrow,” remember — the few minutes you spend brushing grates and emptying the drip tray will pay you back with better food, fewer flare-ups, and a grill that lasts for years.
So grab that brush, get the gunk out, and let your grill do what it does best: make amazing food.
DISCLAIMER
This document is provided for general information purposes only and should not be relied upon as providing legal advice, technical, or specific operational guidance to the reader, whether as to the practices described in the document or the applicable legal requirements and regulations. outdoorgrillguide.com expressly disclaims any responsibility for liability arising from or related to the use or misuse of any information in this document.