"Step-by-Step Guide to Picture-Perfect Grill Marks”

I love the look of sharp grill marks, and I’m honest: they are mostly about appearance, not taste. Real flavor comes from broad browning and steady heat. My goal here is to help you get both beauty and great flavor with a simple, repeatable way.
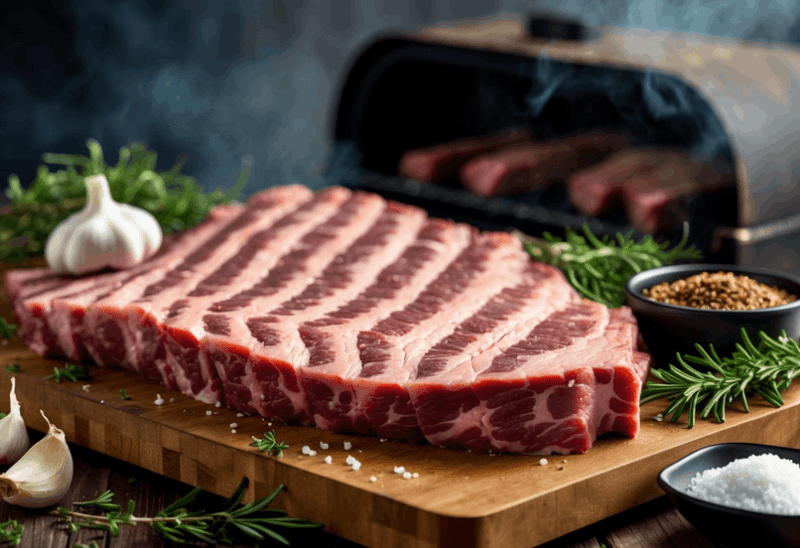
I reach for heavy cast iron or raised-rail GrillGrates when I want bold lines. These surfaces run hotter and hold heat, so a super-hot grate can mark food in one or two minutes.
Start with a ripping-hot preheat, clean and oiled metal, and a two-zone fire. Sear on the hot side, then move the meat or veg to the cooler side to finish. That control prevents overcooking and reduces sticking.
For diamond marks, set the food at about 45 degrees, then rotate 90–120 degrees before flipping and repeating. The same rules work for vegetables, bread, and fruits like peaches or pineapple.
Key Takeaways
- Look matters: marks are visual; broader browning brings flavor.
- Use hot grates: cast iron or GrillGrates give faster, bolder lines.
- Two-zone method: sear fast, finish on the cool side.
- Rotate for diamonds: 45° start, then 90–120° turn.
- Prep prevents stick: clean and oil grates or lightly oil food, then wait for natural release.
Gear, Heat, and Setup I Trust for Picture-Perfect Grill Marks
I start with the hardware. Thick cast iron and raised-rail aluminum hold heat much better than thin wire. That stored energy gives bold, clean marks without fuss.
Choose the right bars
Heavy grates—cast iron or raised-rail GrillGrates—run hotter and keep that heat at the surface. A massive grate transfers more radiant energy, so sear lines form faster and deeper.
Preheat and timing
Preheat with the lid closed on HIGH for about 10–15 minutes so the surface reaches roughly 500–550 degrees at the grate. For charcoal, light fully and cover briefly to heat-soak the metal.
Two-zone control and oil
Set a hot direct side for searing and an indirect side for finishing. Clean the grate well, then coat the metal or the food lightly with a high-smoke-point oil. Wait the easy-release—usually one to two minutes—before nudging.
- Position proteins at approximately a 45° angle to achieve clean lines.
- Keep tongs, thermometer, and an oiled towel handy for fast, confident moves.
How to Get Perfect Grill Marks Every Time: My Step-by-Step Method
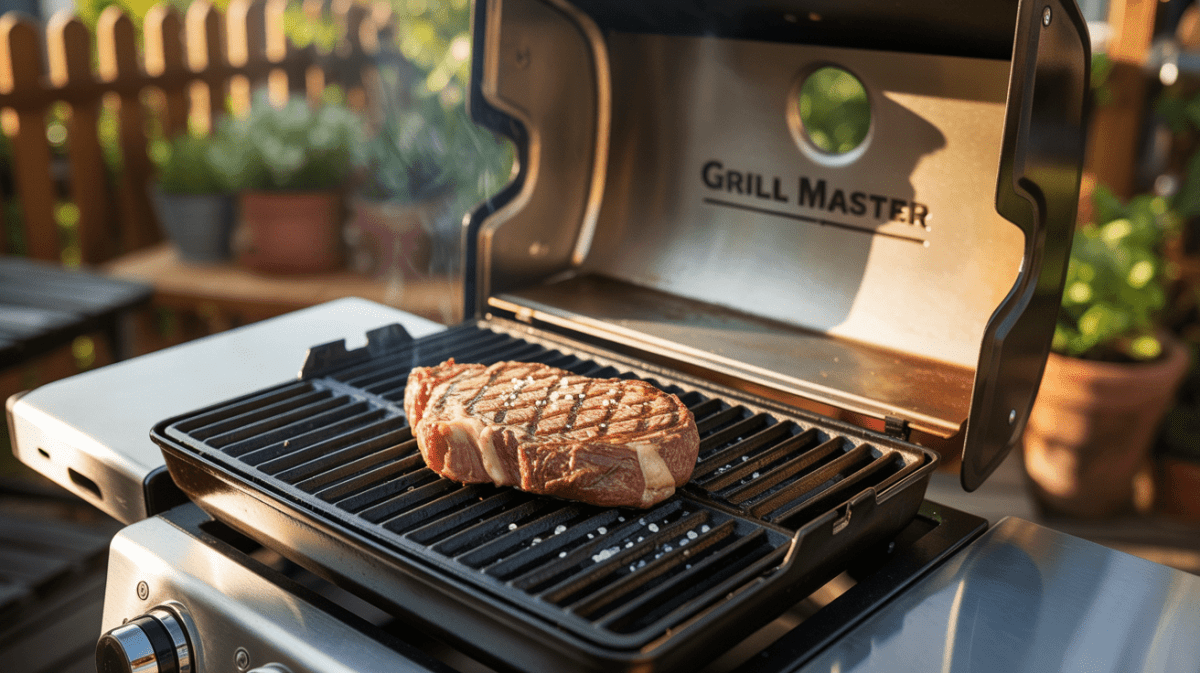
I walk you through the exact moves I use for consistent, sharp lines. Start by placing the meat at a 45-degree angle across the grate so the first set of marks lands cleanly and gives room for a second pass.
Placement and angle
Angle matters. I position the piece with its ends at roughly 10 and 4 o’clock, which sets me up for a precise crosshatch on the next move.
Timing the sear
I let the hot grate do the work for about one to two minutes. Then I test for a natural release—if the food still clings, I wait a few more seconds before rotating.
Crosshatch diamonds
When the first lines are set, I rotate the item 90–120 degrees (think 10-and-4 to 2-and-8). That second pass creates the classic crosshatch that looks restaurant-worthy.
Flip and finish on the cool side.
After marking one side, I flip once and move the piece to the indirect side to finish gently. This keeps the interior juicy while preserving the branded surface.
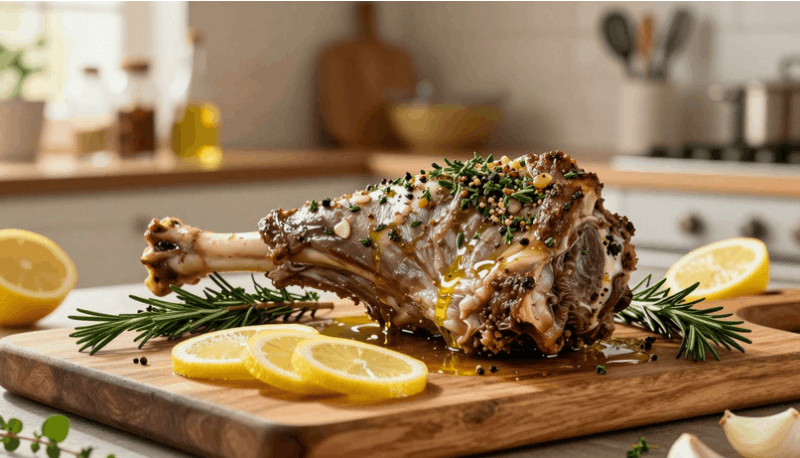
Beyond meat
For seafood, vegetables, and fruit, I use a single diagonal pass. That gives attractive lines without overcooking delicate pieces.
- I keep the grate clean and lightly oiled, or lightly oil the food, so marks form cleanly.
- I watch time and feel over the clock; the easy-release cue beats a strict timer.
- I finish larger items with an instant-read thermometer to match presentation with doneness.
Do Grill Marks Equal Best Flavor? When I Swap Marks for Full Crust

When I chase real flavor, I often trade neat stripes for a full, even crust. Grill marks look great, but they are just spotty Maillard reactions at contact points. For beef, more brown surface equals more savory depth.
Maillard matters: a broad crust beats narrow bands for taste. I use a two-zone set up and cook on the indirect side at about 225°F with regular flips. That gentle approach brings the interior close to target without burning the outside.
Why I prefer wide browning over stripes
Striping leaves flavor on the table. I want the whole exterior caramelized so every bite has that roasted, beefy note. Crosshatch looks sharp, but when I focus on taste I prioritize surface contact and steady heat control.
Reverse sear for thick cuts
I roast thick steaks indirect until the internal reads about 115 degrees. Then I hit them with short, hot bursts on the direct side. I flip and rotate often so one face doesn’t char while the inside finishes.
- Use an instant-read thermometer to track progress.
- Short, furious finishing builds crust without drying the meat.
- Make sure you rest the steak so juices redistribute before slicing.
Conclusion
A simple checklist — hot grate, clean metal, light oil, patient hands — makes repeatable results likely. I aim for a quick sear of about one to two minutes, wait for natural release, then move the cut to an indirect side to finish. That sequence helps the interior stay juicy while the surface looks restaurant-ready.
Use a 45° start and a confident 90–120° rotation for diamonds, or a single diagonal on delicate pieces. For thick meat, I reverse sear to roughly 115°F, then blast it hot for a broad crust.
Take notes on minutes, angles, and grate behavior. Little upgrades like heavy grates matter, but steady heat, angle, and control teach anyone how to get grill marks and better cooking faster. Practice a few sessions, and people will notice both the look and the flavor.
FAQ
What grate material gives the best sear and grill lines?
I prefer heavy cast-iron grates or thick raised-rail stainless steel. Cast iron holds heat longer and makes darker, crisper lines. Raised-rail designs concentrate contact points for bolder stripes. Keep grates clean and well-oiled so meat releases without tearing.
How long should I preheat my grill for deep, defined marks?
I preheat with the lid closed on high for about 10–15 minutes until the thermometer reads roughly 500–550°F. That surface heat is what creates rapid browning where meat touches the bars, so don’t rush this step.
What’s my go-to method for sear control without burning the center?
I use a simple two-zone fire: one side blazing hot for searing, the other cooler for finishing. Sear quickly over the hot zone, then move the piece to indirect heat until it reaches the target internal temperature.
Which oil should I use, and how do I prevent sticking?
I use a high-smoke-point oil like avocado or refined peanut oil. I brush the oil on the meat, not the grate, and wipe excess off. A clean, well-oiled grate plus the natural release makes flipping easier and preserves neat lines.
What angle and placement create those professional crosshatch diamonds?
I start at about a 45-degree angle to the bars for the first sear. After the initial minute or two, I rotate the piece 90–120 degrees (think 10-and-4 or 2-and-8 on a clock) to form the diamond pattern before flipping.
How long should I leave meat on the grate before rotating or flipping?
I wait for natural release—usually 1–2 minutes for thin cuts—so the meat lifts without tearing. That brief sear develops the line; if it resists, it needs more time rather than forceful lifting.
Do I flip and finish on the hot side or the cool side?
I flip once and finish on the cooler side to avoid overcooking the interior. The hot side is for the initial mark and quick crust; the indirect zone gently raises the internal temperature.
Can I get grill lines on fish, veggies, or fruit?
Yes. I use single-strip contact for delicate items: oil lightly, preheat the grate, and press gently for short intervals. Firm fish like tuna, thicker vegetables, and sturdy fruit like pineapple take marks best.
Are grill marks the same as flavor? Should I aim for a full crust instead?
Marks look great, but a full-surface Maillard crust delivers deeper flavor on steaks. For thick cuts, I often reverse-sear: slow indirect heat to about 115°F, then blast over high heat for an even crust and attractive lines.
Any quick troubleshooting tips when lines come out pale or uneven?
If lines are weak, raise grate temp, clean and re-oil bars, and ensure meat is dry before it hits the heat. Thin pieces may need less time; thick pieces may require more direct contact. Adjust placement, not pressure.
How do I avoid flare-ups that ruin marks?
I trim excess fat, pat food dry, and use two-zone cooking so I can move pieces away from flames. A spray bottle or a small pan of water under the cool zone also helps control flames without chilling the grill.
DISCLAIMER
This document is provided for general information purposes only and should not be relied upon as providing legal advice, technical, or specific operational guidance to the reader, whether as to the practices described in the document or the applicable legal requirements and regulations. outdoorgrillguide.com expressly disclaims any responsibility for liability arising from or related to the use or misuse of any information in this document.