Master the art of grilling delicious pork roast every time:
Grilling a pork roast can be tricky. It's tough to get that juicy interior and a crispy, flavorful crust at the same time.
The reverse sear technique is an effective way to achieve both by cooking the pork low and slow first, then finishing with a high-heat sear on the grill. This method keeps the meat tender and helps build a caramelized outside that really bumps up the flavor.

This approach works for lots of pork cuts—pork loin, shoulder, you name it. It relies on a two-zone grill setup so you can really dial in the heat.
If you know how to prep, monitor, and sear the pork right, you'll notice a big difference in the final result.
Check out this step-by-step guide to nail reverse searing on the grill. You’ll end up with a pork roast that's juicy and perfectly cooked from edge to edge.
Key Takeways
- Low-and-slow cooking, followed by a hot sear, locks in juices and flavor.
- Using the right cuts and grill setup helps ensure even cooking and great texture.
- Careful temperature monitoring keeps you from overcooking and drying out the roast.
What Is the Reverse Sear Technique?

The reverse sear technique means you cook meat slowly at a low temperature, then finish with a quick, high-heat sear. You get even cooking and a flavorful crust on the outside.
It’s especially good for bigger cuts, like pork roast, since it helps keep the meat juicy and tender.
How Reverse Searing Differs From Traditional Grilling
Traditional grilling usually starts with high heat to sear the meat, then drops to lower heat to finish. That can make the outside overcooked while the center stays underdone—or worse, it all dries out.
Reverse searing flips that. You start slow and low, usually on the cooler side of the grill or even in the oven. That way, the meat’s internal temp rises gently, and the edges don’t get tough.
Once the pork roast is almost at the target temp, you blast it with high heat. That’s when you get that brown, crispy crust while the inside stays tender and juicy.
Benefits of Reverse Searing for Pork Roast
Reverse searing has some real perks when it comes to pork roast.
- Even cooking: Slow roasting cooks the pork roast evenly from edge to center, so you don’t end up with dry or overcooked spots.
- Better moisture retention: The low and slow part keeps the juices in the meat.
- Perfect crust: That last sear forms a crispy, flavorful crust without burning.
- More control: Using a meat thermometer during the slow cook lets you avoid overcooking. It’s easier to hit the right internal temp—about 145°F for medium.
Honestly, reverse searing is a smart move for backyard BBQs if you want results that taste like they came from a pro kitchen.
Best Cuts of Pork for Reverse Searing on the Grill

Picking the right pork cut really matters for reverse searing. You want a cut with enough thickness and some fat, so it holds up to slow cooking and gets a good crust when you sear it.
Pork shoulder, prime rib roast, chops, and thick steaks all work well.
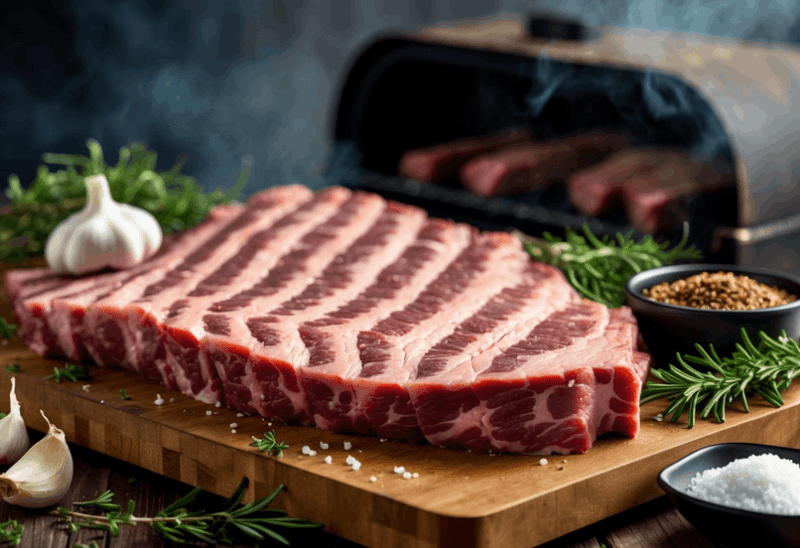
Selecting the Ideal Pork Roast
For reverse searing, go for a pork roast with a solid fat cap and at least two inches thick. The pork prime rib roast is a top pick since it’s got both flavor and tenderness from the loin and some back ribs.
Trim the roast so there’s a thin layer of fat—about 1/4 inch. That keeps it juicy during the slow cook. If the roast is too lean, it might dry out before you even get to the searing stage.
Cook the roast over indirect heat so it warms up evenly. The goal is to bring the internal temp to about 120°F before moving it to high heat and finishing at 145°F for juicy, safe pork.
Understanding Pork Steaks, Chops, and Thick-Cut Options
Thick pork steaks and chops are also great for reverse searing. Their size and fat marbling help keep them juicy, and the method prevents overcooking the outside before the inside is done.
Pork steaks, usually from the shoulder, need slow grilling first to get tender. Reverse searing gives them a flavorful crust and keeps them from drying out.
Thick-cut pork chops—at least 1.5 to 2 inches thick—work well because the reverse sear cooks them gently before the quick, hot finish. It really locks in juiciness and improves the texture, which can be tough with regular searing.
Always use a meat thermometer to keep an eye on the internal temp. It’s the best way to get great results with all these cuts.
Essential Tools and Preparation
If you want to reverse sear a pork roast on the grill, having the right gear and prepping the meat right is important. Setting up the grill, using a reliable thermometer, and seasoning the roast are all key steps to pull off even cooking and awesome flavor.
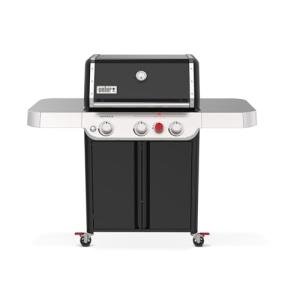
Choosing the Right Grill Setup
A gas grill is usually the easiest for reverse searing pork roast since you can control the heat zones. Set up two zones: one for indirect, low heat to cook the roast slowly, and the other for direct, high heat to finish with a quick sear.
Keep the indirect side between 225°F and 275°F. The direct side should get up to around 500°F for browning the surface.
If your grill surface is uneven or not hot enough, you can throw a cast iron skillet on for the searing step. It helps get that crust just right and gives you more control.
Thermometer Types and Their Importance
A meat thermometer is crucial for roasting pork safely and accurately. An instant-read thermometer gives you quick checks without having to keep pulling the roast out. That way, you don’t overcook it.
A digital meat thermometer with a probe is even better for continuous monitoring. The probe stays in the roast and gives you real-time readings, which is perfect for the slow-cook phase.
The pork roast should hit 145°F inside for medium doneness. Using a thermometer takes out the guesswork and keeps the meat juicy and tender.
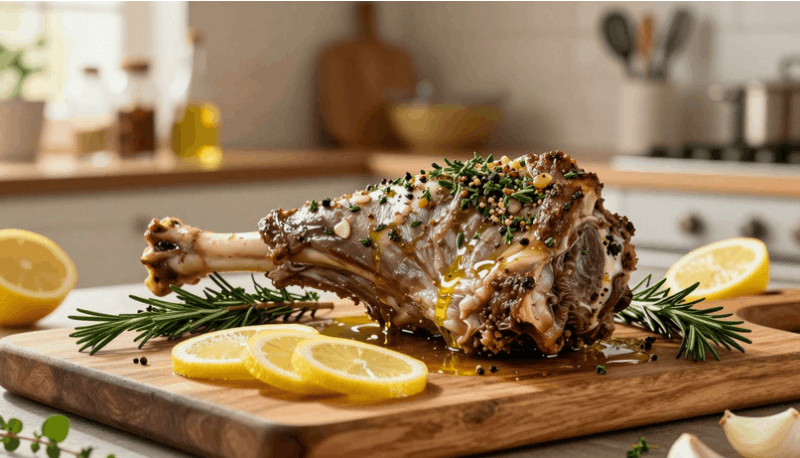
Prepping and Seasoning the Pork Roast
Let the pork roast come to room temperature before you grill it. That way, it cooks more evenly.
Pat the roast dry with paper towels so you get a better sear. Moisture on the surface just gets in the way of browning.
Seasoning is up to you. Salt, pepper, and garlic powder work fine, but you can go with a spice rub with herbs or smoked paprika for more flavor.
Rub a little oil on before the spices so everything sticks. Let the roast rest for 20-30 minutes after seasoning to soak up the flavors. Good prep makes a big difference in the final taste and texture.
Step-by-Step Guide to Reverse Searing Pork Roast on the Grill
To reverse sear a pork roast on the grill, start by setting up for indirect heat. Slow cook the pork at a low temp for even cooking.
Monitor the internal temp carefully and keep carryover cooking in mind. That’s how you get perfect doneness before searing.
Setting Up the Grill for Indirect Cooking
Set your grill for indirect heat so you can slow cook the pork roast without burning it. On a charcoal grill, pile the hot coals on one side and leave the other empty for a cooler zone.
On a gas grill, just turn on burners on one side and leave the other off. Put a drip pan under the pork to catch juices and avoid flare-ups.
Keep the grill at 250°F to 300°F for gentle cooking. Shut the lid to hold in heat and smoke.
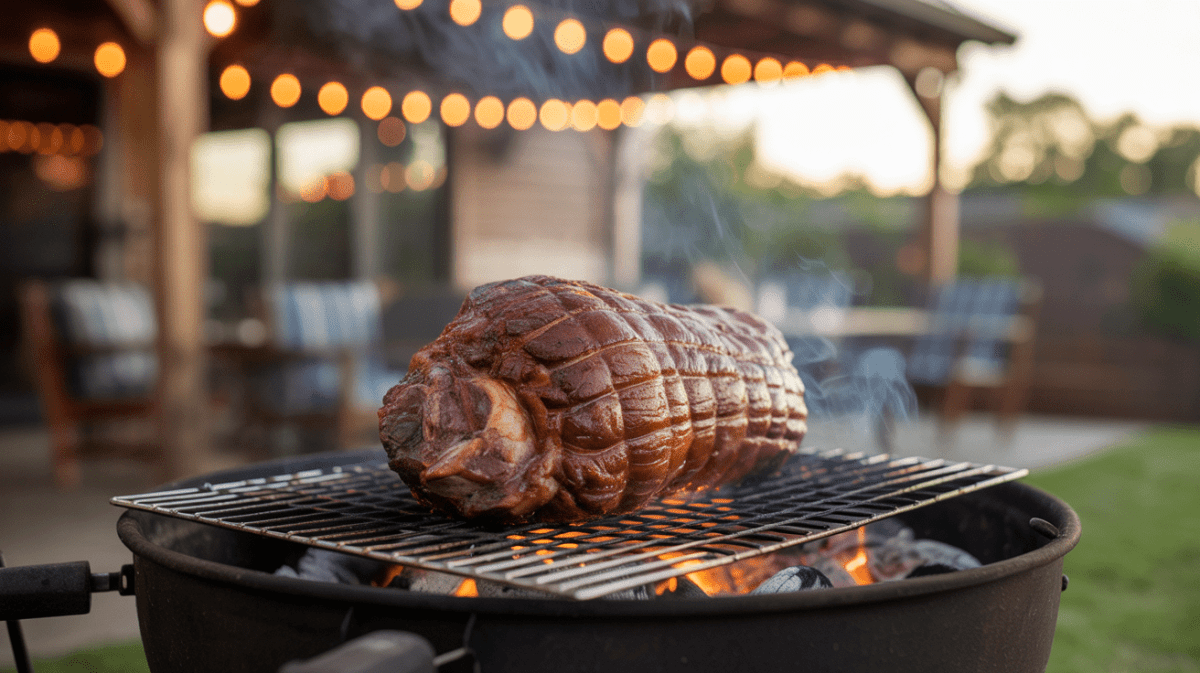
Slow Cooking the Pork Roast
Put the seasoned pork roast on the cool side of the grill, away from direct flames. This slow approach lets heat work its way through the meat without drying it out.
Plan for about 40 to 45 minutes per pound, but it depends on the roast size and grill temp. Don’t open the lid too often—every time you peek, you lose heat and add to the cooking time.
Rotate the roast now and then to keep the heat even. If you want a smoky flavor, toss in some wood chips, but don’t let the temp get away from you.
Monitoring Internal Temperature and Carryover Cooking
Use a good meat thermometer to track the internal temp as the roast cooks. Aim for a temp that’s about 10°F below your final goal—usually around 165°F for pork—because it’ll rise as the roast rests.
Take the roast off the grill when it hits that temp and let it rest for 10 to 15 minutes. Resting lets the juices redistribute and the internal temp finish rising to about 175°F to 180°F. After that, it’s time to sear.
Searing at high heat gives you a browned, crispy crust and locks in the juices. That last step is where the magic happens.
Finishing With the Perfect Sear
Once you’ve slowly cooked the pork roast to the right internal temp, crank up the heat for the final step. This is when you focus on getting that flavorful, crisp outer layer without overcooking the inside.
High-Heat Searing Techniques
For reverse searing on the grill, you need a high-heat zone. Turn one part of the grill up all the way, but keep the other side cooler.
Start the roast on the cooler side, then move it to the hot side for searing.
Using a cast iron skillet on the grill works really well, too. A preheated cast iron skillet holds and spreads heat evenly.
Pat the pork roast dry first to avoid steaming. Sear it on all sides for about 2 to 3 minutes each.
This quick sear locks in juices and lets you decide how brown you want the crust.
Achieving a Crispy, Flavorful Crust
If you want a crispy crust, make sure the pork roast’s surface is dry and well-seasoned before searing. Any moisture on the outside will stop it from browning properly.
The seasoning rub you put on earlier caramelizes as you sear, adding deep flavor and texture.
Try not to move the roast too much once it hits that hot surface. Letting it sit still helps create an even, caramelized crust.
Watch for a golden or mahogany color—no one wants a burnt roast. That crust brings both texture and a punch of flavor that contrasts with the tender meat inside.
Comparing Reverse Sear With Other Cooking Methods
The reverse sear method is all about slow cooking, then a blast of high heat. It stands out for giving even doneness and a crisp crust.
Knowing how it stacks up against sous vide helps you pick the right approach for different meats.
Reverse Sear vs. Sous Vide
Sous vide cooks meat in a precise, temperature-controlled water bath. You get exact doneness throughout, but it takes longer and you need special gear.
Reverse sear uses an oven or grill for the slow phase, then a quick sear at the end. It’s a lot easier for most home cooks since you don’t need fancy equipment.
The sear in reverse sear gives a stronger crust because dry heat removes surface moisture better. Sous vide is great for precision, especially with delicate cuts or when you care about hitting a perfect temperature.
Reverse sear shines with thicker cuts like pork roast or New York strip steak. Sometimes, a really flavorful crust and easy prep just matter more.
When to Use the Reverse Sear for Different Meats
Reverse sear works best for thick cuts—think at least 1.5 inches—like bone-in pork chops and big roasts. It keeps the edges from drying out while slowly bringing the inside up to temp.
For steaks like ribeye or New York strip, you get even cooking without that annoying gray band. Burgers and thin cuts just cook too fast for reverse sear to make sense.
Pork roast really benefits from this method. It stays juicy, gets tender, and the sear adds a great finish.
This approach also works well for bone-in cuts, since the slow cook helps heat spread evenly. Plus, the slow phase dries out the surface, making the final sear even better.
Frequently Asked Questions
Let’s tackle some common questions about grilling pork roast with the reverse sear technique. Here’s what you might want to know about temperatures, timing, the method itself, and keeping things moist.
What is the ideal internal temperature for a reverse-seared pork tenderloin on the grill?
Go for 145°F (63°C) for safe, juicy pork. Pull it off the grill at about 140°F (60°C) and let it rest—the temp will climb a bit as it sits.
How long should a pork loin be cooked on a gas grill to achieve perfect doneness?
Usually, it takes 1 to 2 hours on indirect heat at 300-400°F (149-204°C). The size of the roast changes things, so check the internal temperature with a meat thermometer often.
Can you explain the reverse searing method for pork roast on the grill?
Reverse searing means you cook the pork slowly over indirect heat first, almost to your target temp. Then, you move it to direct high heat to brown the outside and get that tasty crust—without overcooking the inside.
Should I wrap my pork loin in foil while grilling for better moisture retention?
Don’t bother wrapping it during reverse searing. Just rest the meat afterward, covered loosely with foil, to keep the juices in and the crust crisp.
What are the advantages of reverse searing a pork roast versus traditional grilling methods?
Reverse searing gives you even cooking, juicy meat, and a crisp, browned crust. It’s easier to control the temperature, so you’re less likely to burn the outside or undercook the inside.
How do you adjust cooking times when using the reverse sear method for different sizes of pork roasts?
Larger pork roasts need more time on indirect heat before you sear them. As a rough guide, try 20 to 30 minutes per pound at 300-400°F (149-204°C).
Keep an eye on the internal temperature—pull the roast off when it's just below your target, then finish with a quick sear over direct heat. It's not an exact science, but this method usually gets you pretty close.
DISCLAIMER
This document is provided for general information purposes only and should not be relied upon as providing legal advice, technical, or specific operational guidance to the reader, whether as to the practices described in the document or the applicable legal requirements and regulations. backyardgrillingpros.com expressly disclaims any responsibility for liability arising from or related to the use or misuse of any information in this document.